
- Home
- About Coatexx
- Our Process
How We Install an Industrial Floor
Eight steps from the first site visit to sign-off. The order matters: by the time the topcoat goes down, most of the work that decides how long your floor lasts is already done.
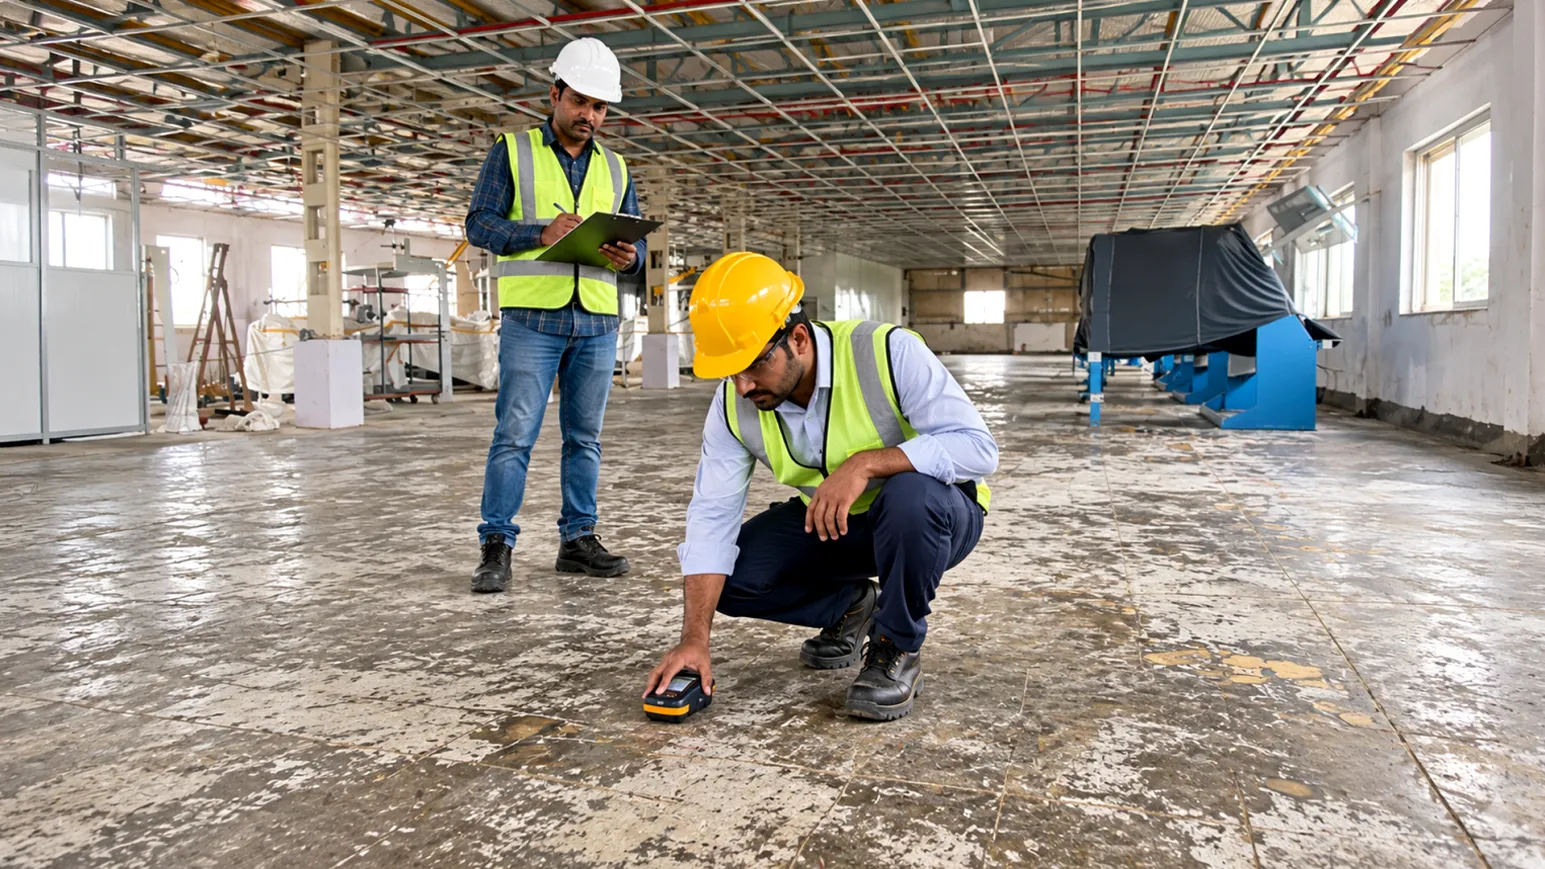
Site Visit & Assessment
We visit your facility, study how the floor is used and test the slab: age, moisture, strength, cracks, joints and existing coatings. We also note traffic, chemicals, temperature and cleaning methods.
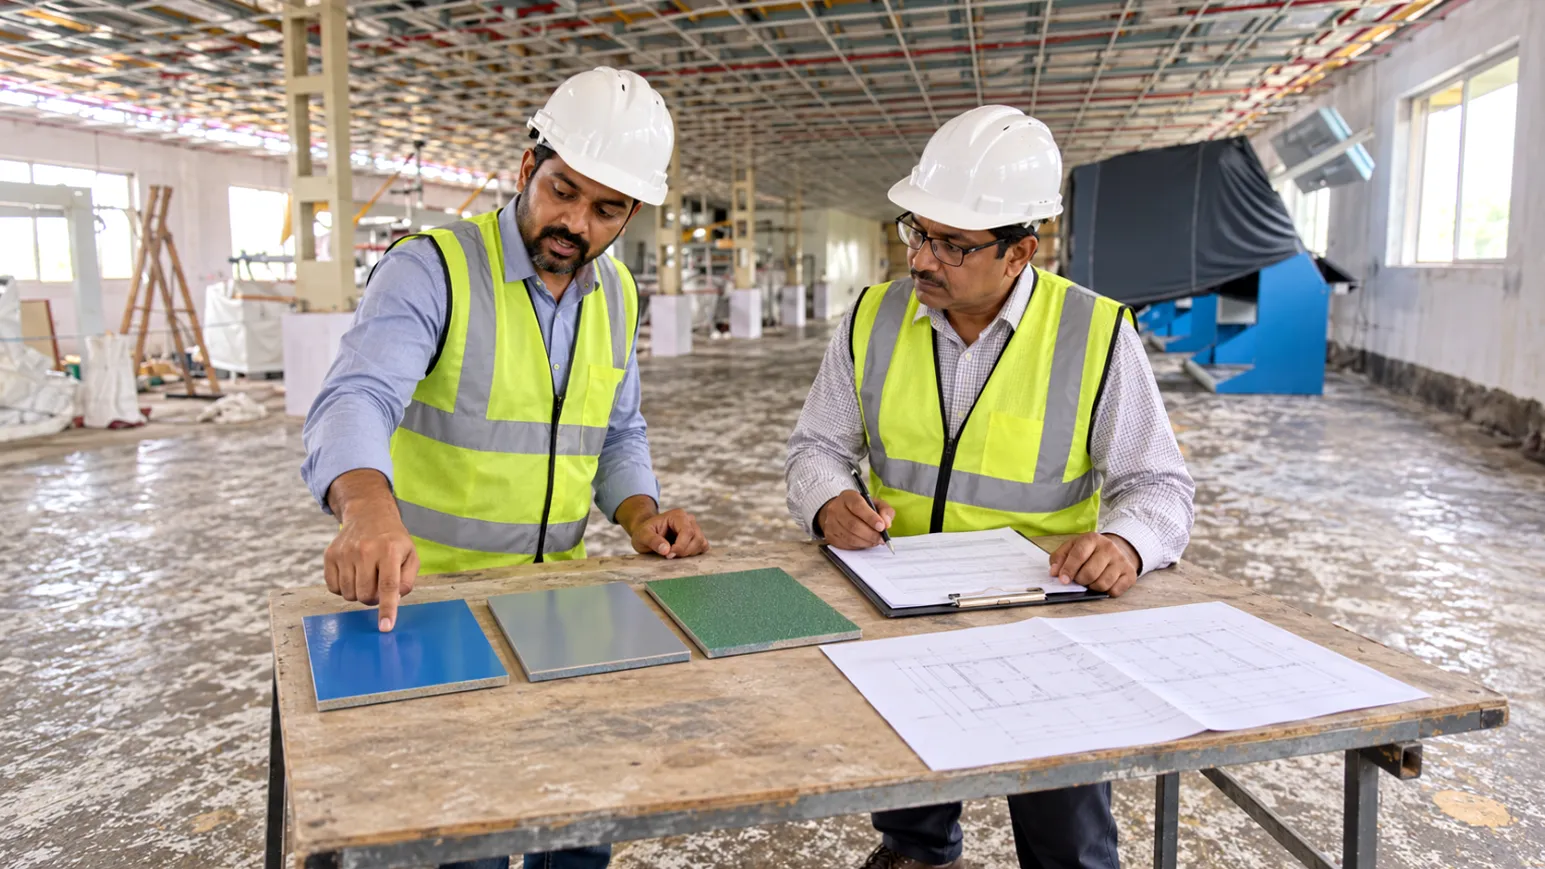
System Selection & Quotation
Based on the assessment we recommend a system, such as self-levelling epoxy, PU concrete or ESD, with a clear layer build-up, thickness and timeline. You get a written quotation, not a guess.
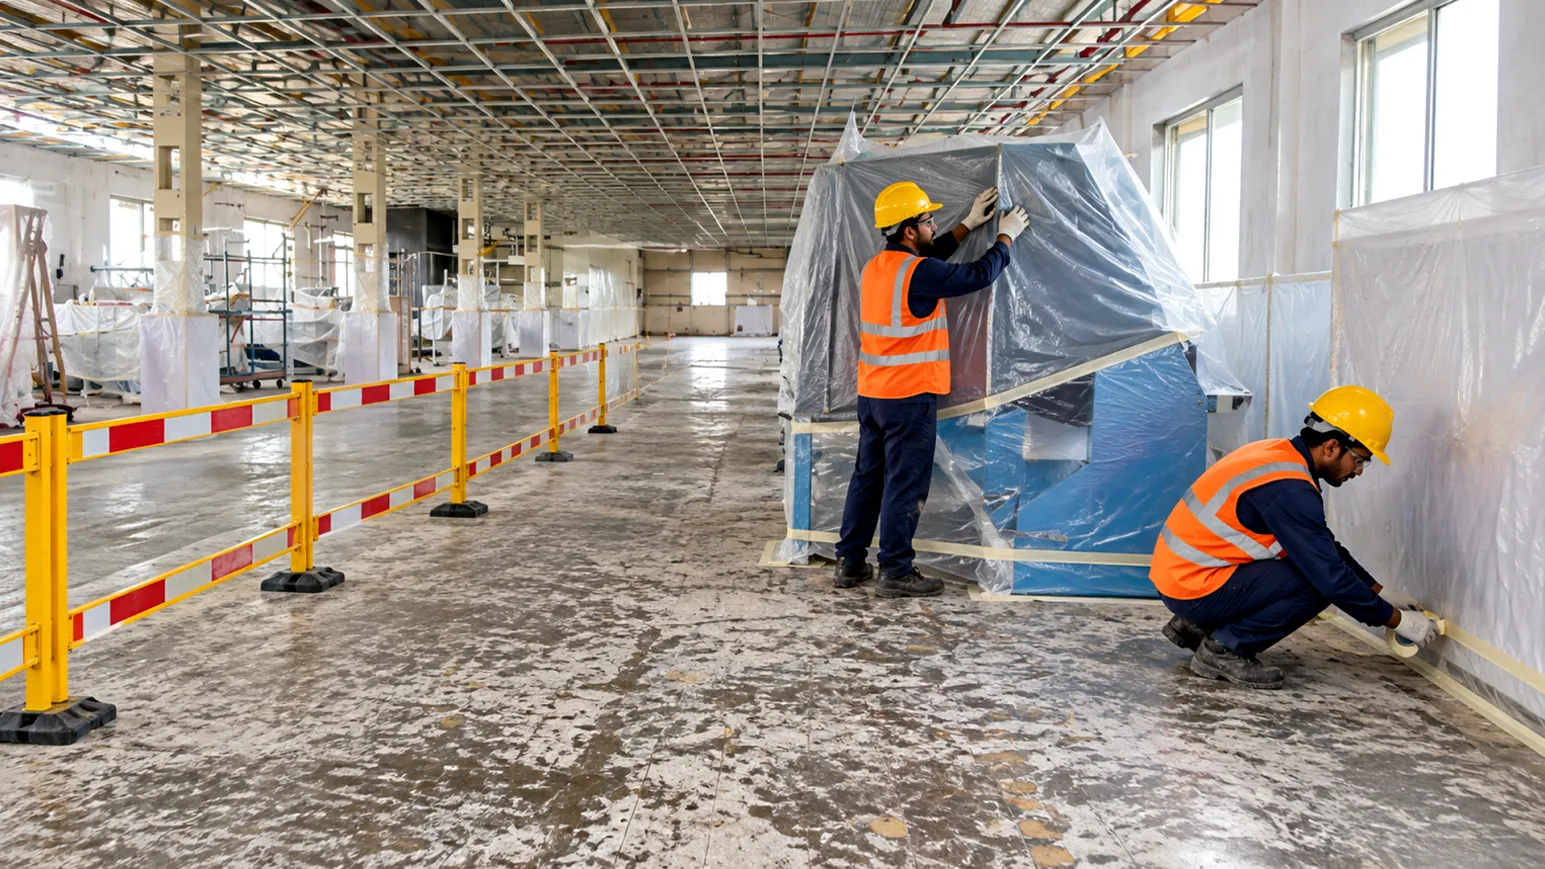
Site Protection & Planning
We agree work zones, shift timings and access with your team. Walls, machines and finished areas are masked and the work area is barricaded so production can continue nearby.
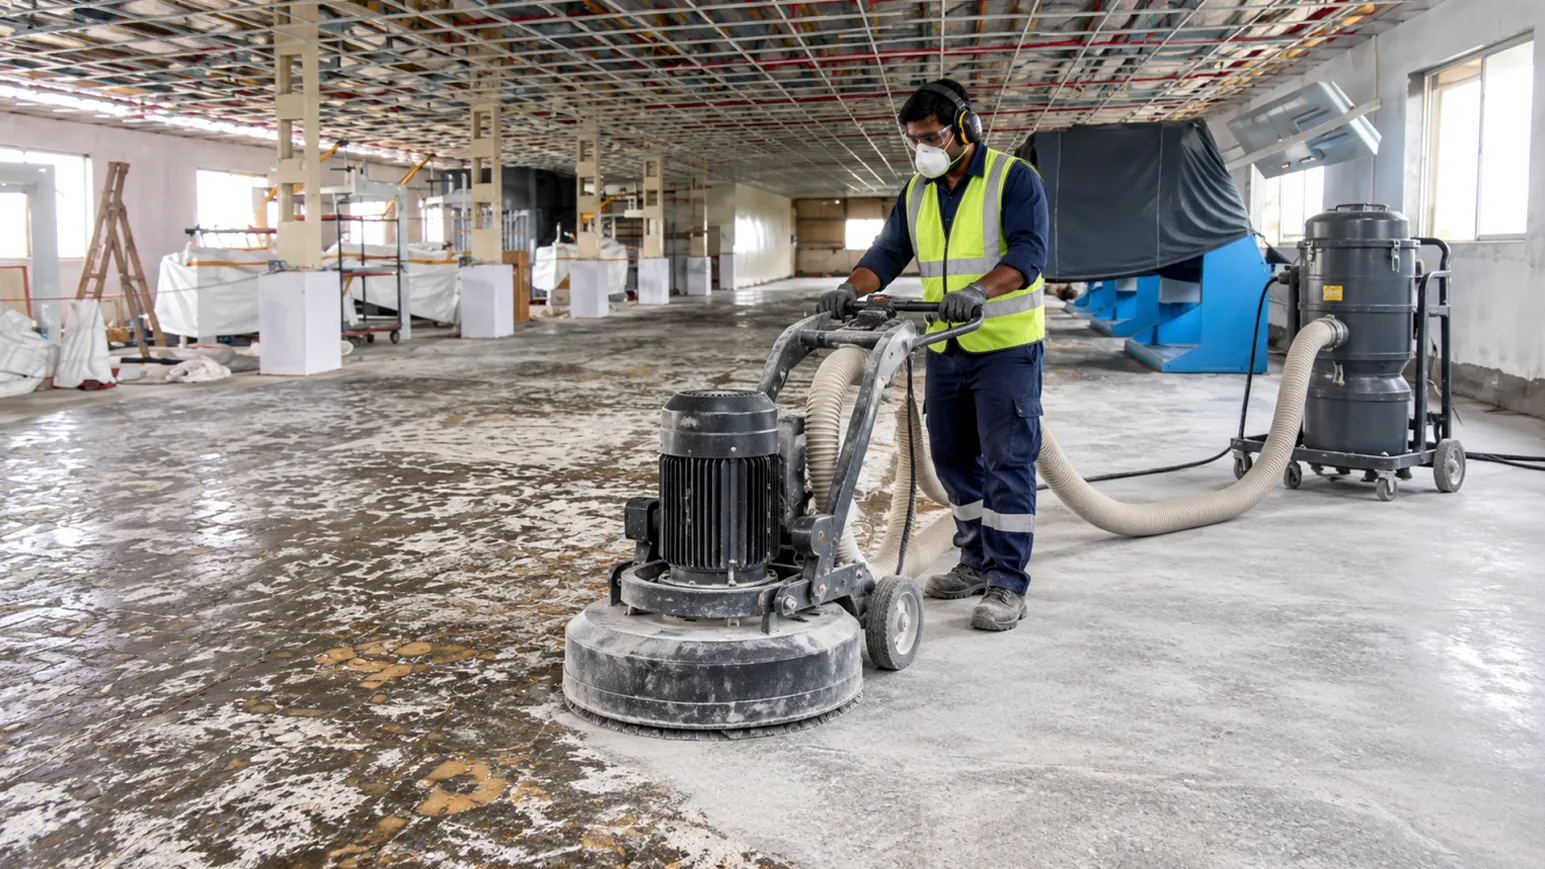
Surface Preparation
Mechanical grinding or shot blasting removes laitance, old coatings and contamination and opens the concrete so the primer can bond. Dust is controlled with extraction.
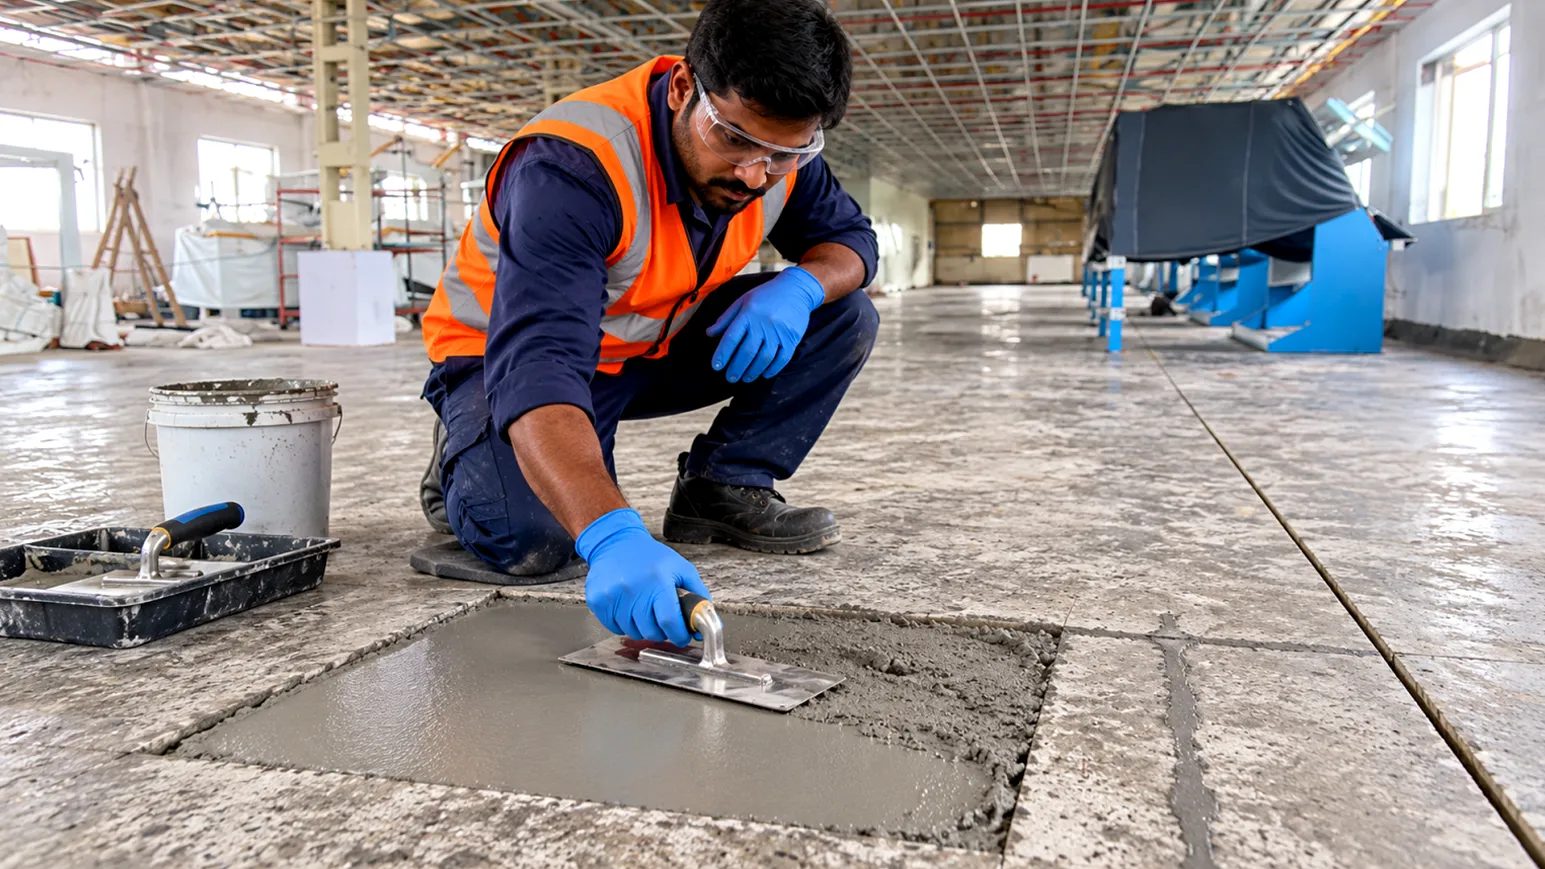
Repairs & Levelling
Cracks, joints, potholes and drain edges are repaired with epoxy mortars. Uneven areas are levelled so the finished floor is flat and seamless.
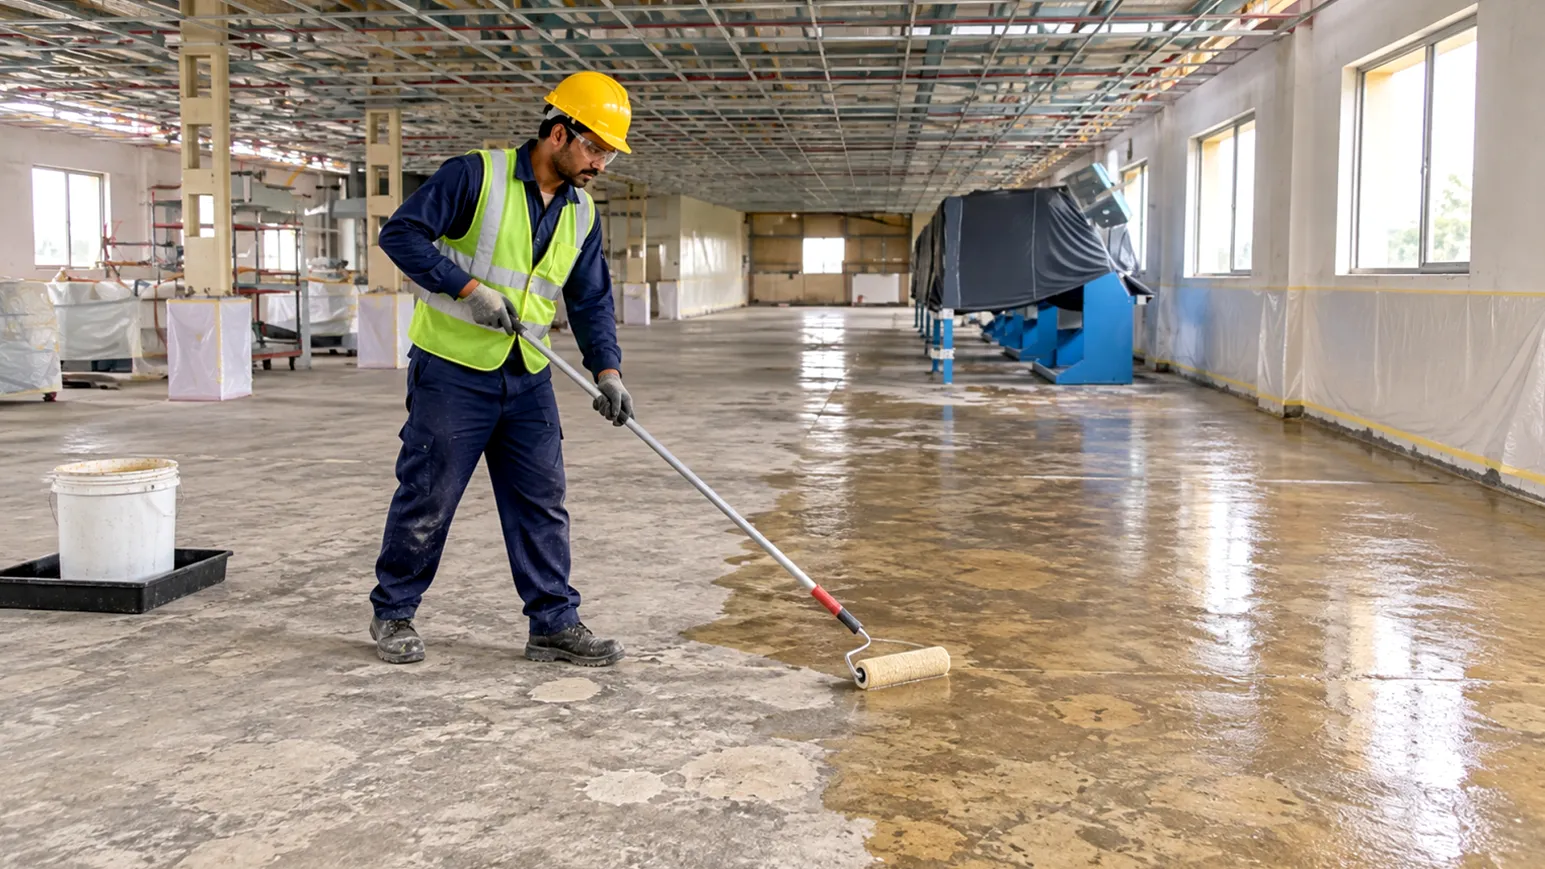
Priming
A penetrating epoxy primer seals the concrete and creates the bond for every layer above it. On porous slabs we apply a second coat.
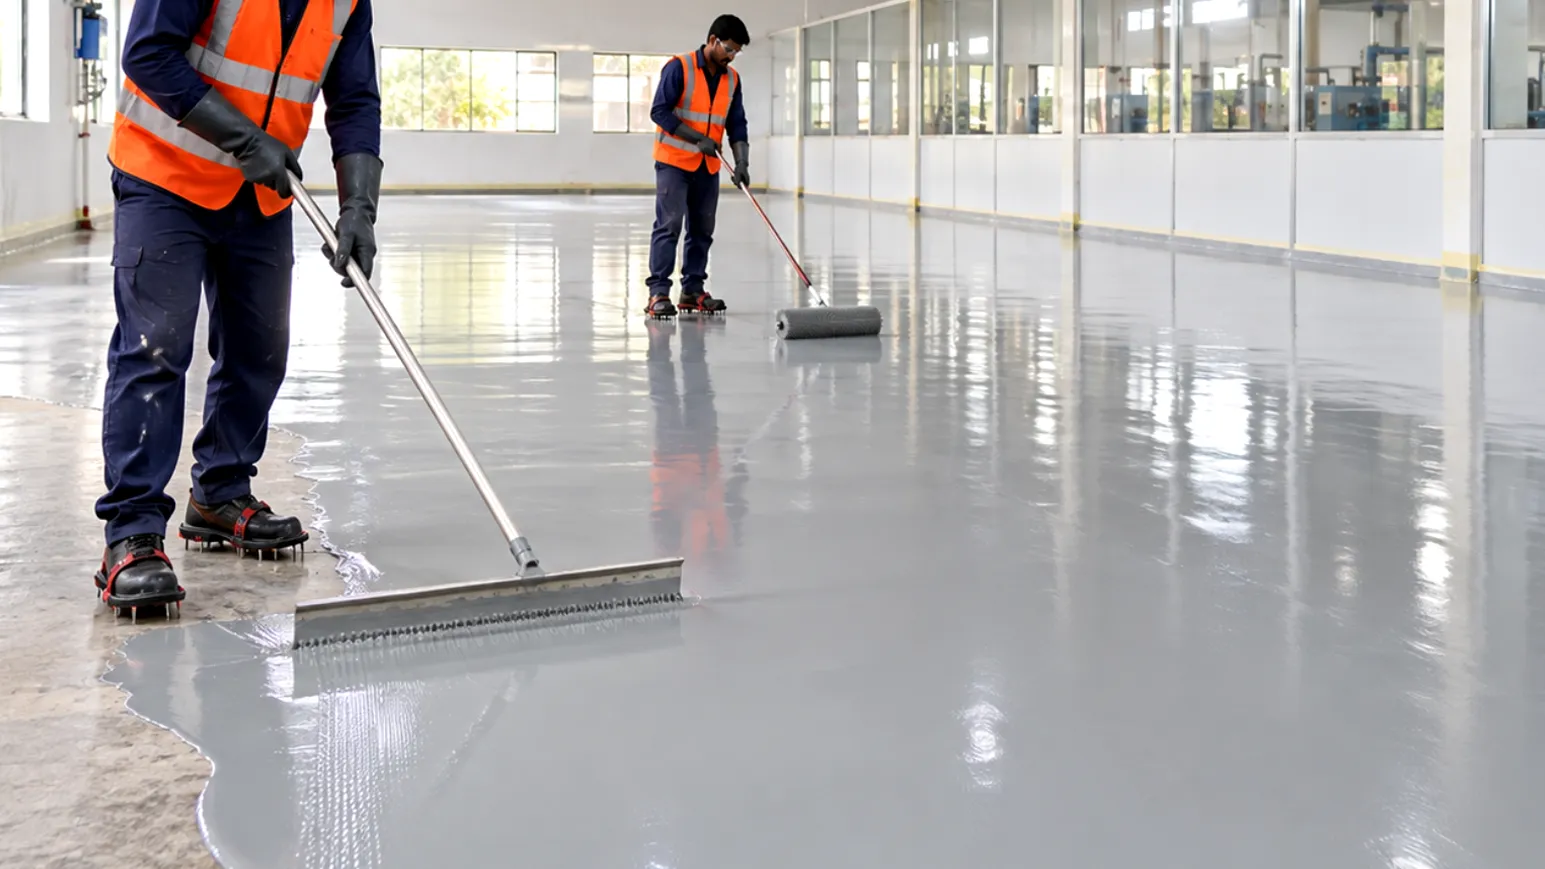
Scratch Coat
The specified layers go down within the manufacturer's recoat windows, with any special layers built in: copper earthing grids for ESD floors, anti-slip aggregate, coving or line marking.
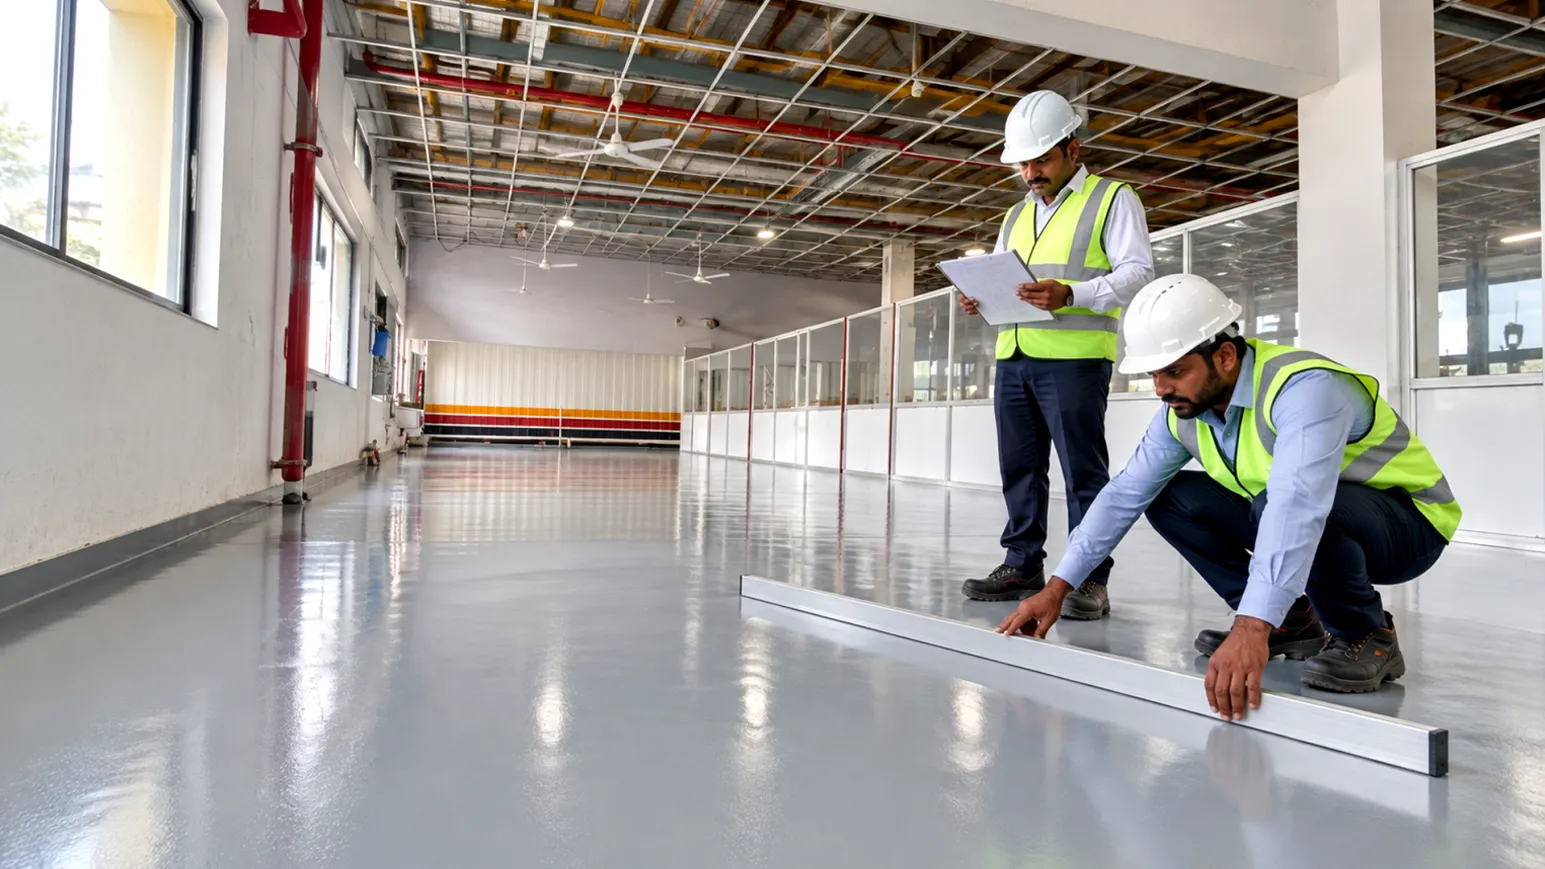
Top Coat
We inspect the finish, record tests where required and hand over with written guidance on when the floor can take foot traffic, trolleys, forklifts and chemicals.
When Can You Use the Floor?
| Use | Typical wait |
|---|---|
| Light foot traffic | 12–24 hours |
| Trolleys and light wheeled traffic | 24–48 hours |
| Forklifts and heavy traffic | 48–72 hours |
| Full chemical resistance | 7 days |
